1.24.2 Using the Alignment Settings Dialog
Step 3 - Uploading Sequences to Align
- The Alignment Settings dialog allows you to upload sequences and then hide, display or trim them in the project.
- The first step is to upload sequences to align to the template.
- You can upload as many sequences to align as you like, whether they are in overlapping regions or on opposite ends of the sequence.
- You can either:
- Drag and drop a file from the Materials box
- "Choose a file" (.AB1, .SCF, text, fasta/multisequence fasta, genebank) from your computer
- Or type/paste a raw DNA sequence, enter a name and select "Add".
The files will be added to the "Selected Sequences" list (Figures 1.24.2.1 and 1.24.2.2).
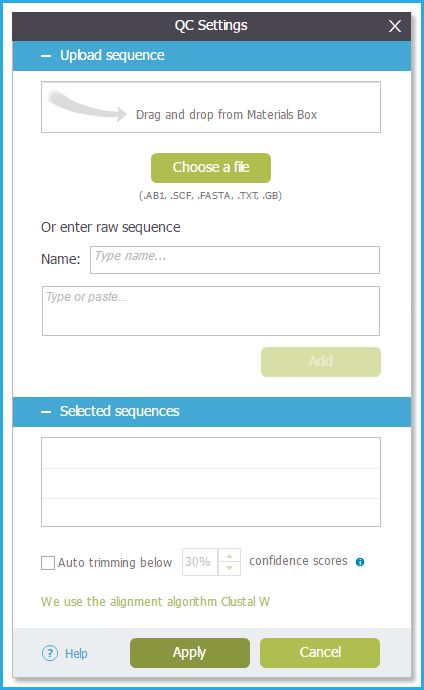 Figure 1.24.2.1: QC settings.
</div>
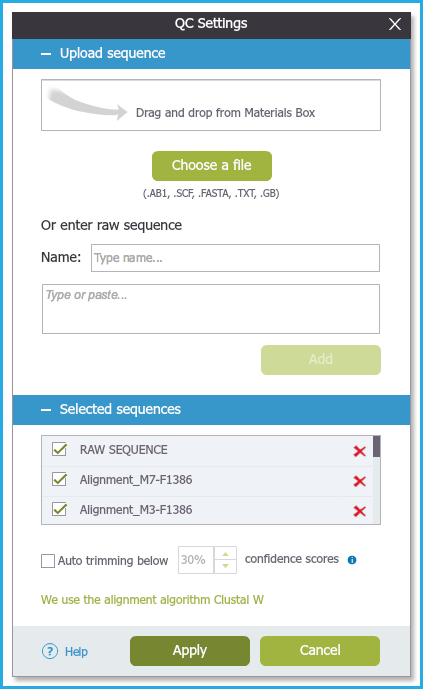 Figure 1.24.2.2: QC settings - Upload sequences.
</div>
Step 4 - Hiding and deleting Alignments
- In order to hide specific alignments in the project, deselect the sequence checkboxes from the "Selected Sequences" list.
To remove sequences click the "Delete" icon (Figure 1.24.2.3).
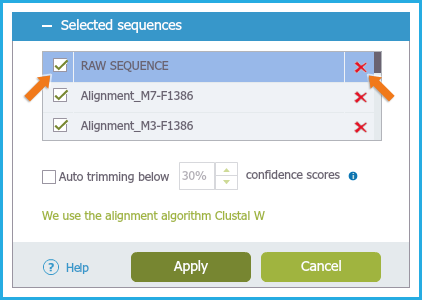 Figure 1.24.2.3: Hiding and deleting Alignments.
</div>
Step 5 - Automatic trimming
- You can choose to automatically trim the ends of your sequence by selecting the checkbox and setting your desired confidence score threshold.
- The default is set to 30%. Regions of the sequence which fall below the set threshold will be automatically trimmed.
In addition you can manually trim your sequences through the project (coming soon) (Figure 1.24.2.4).
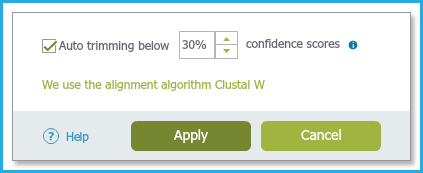 Figure 1.24.2.4: Auto Trimming.
</div>
Select "Apply" to run your alignments.