1.4.1 Importing Protein and DNA sequences
Please see the tutorial video below on "Importing Protein and DNA sequences" for additional support:
There are a few ways to import DNA and protein sequence files. You can either:
- Import your data via the home screen (when no other projects are open) by choosing the appropriate file format (Figure 1.4.1.1).
- Or click the “Import File” icon in the Materials box (Figure 1.4.1.2).
- Or click the "Import File" icon in the main editing toolbar (Figure 1.4.1.3).
- Or select the "File" menu, and then "Import" and then "Import (ctrl+I)" (Figure 1.4.1.4). Note: "Ctrl+I" key board short cut will also work.
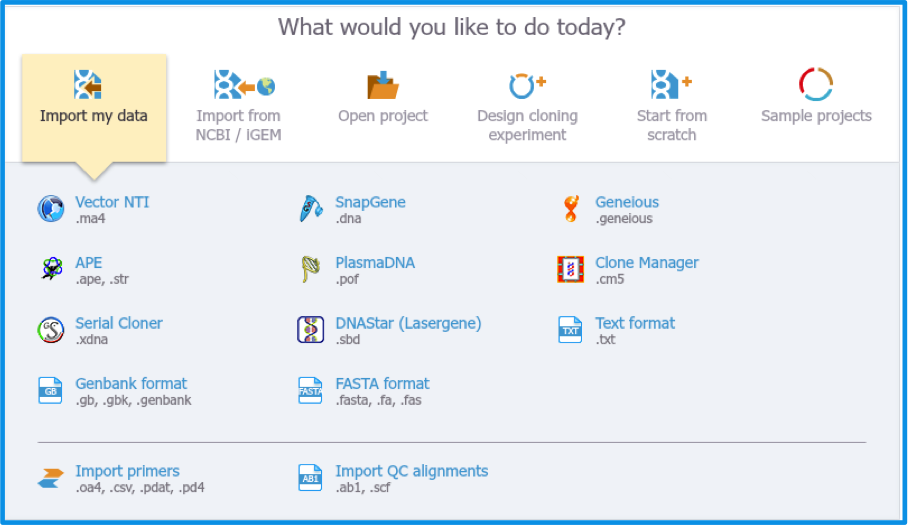
Figure 1.4.1.1: Importing data from the home screen.

Figure 1.4.1.2: The ”Import File” icon in the Materials box.
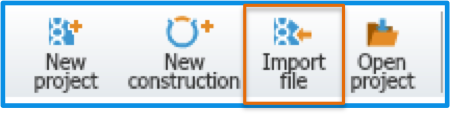
Figure 1.4.1.3: The "Import File" icon in the editing toolbar.

Figure 1.4.1.4: Importing DNA and protein sequences from the "File" menu.
All of these actions will invoke a dialog (Figure 1.4.1.5) to choose the file from your computer.
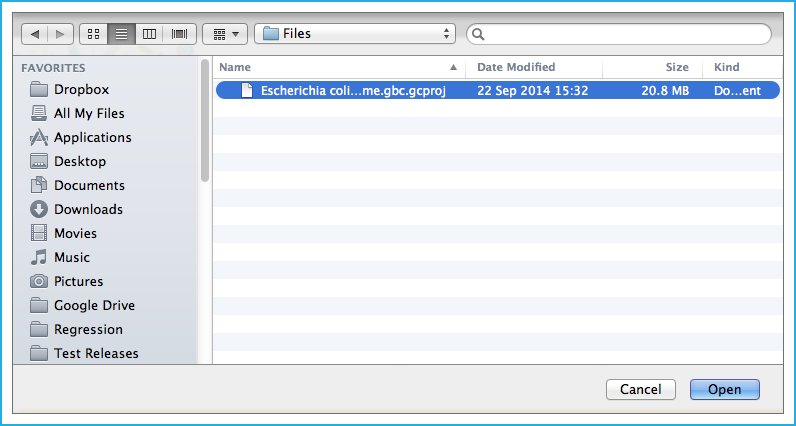
Figure 1.4.1.5: Choosing a file from your computer files.
Once you selected a file/s, a dialog will pop up in Genome Compiler (Figure 1.4.1.6) to prompt you for a location to save to. You can choose to save the file in an existing folder or to create a new folder.
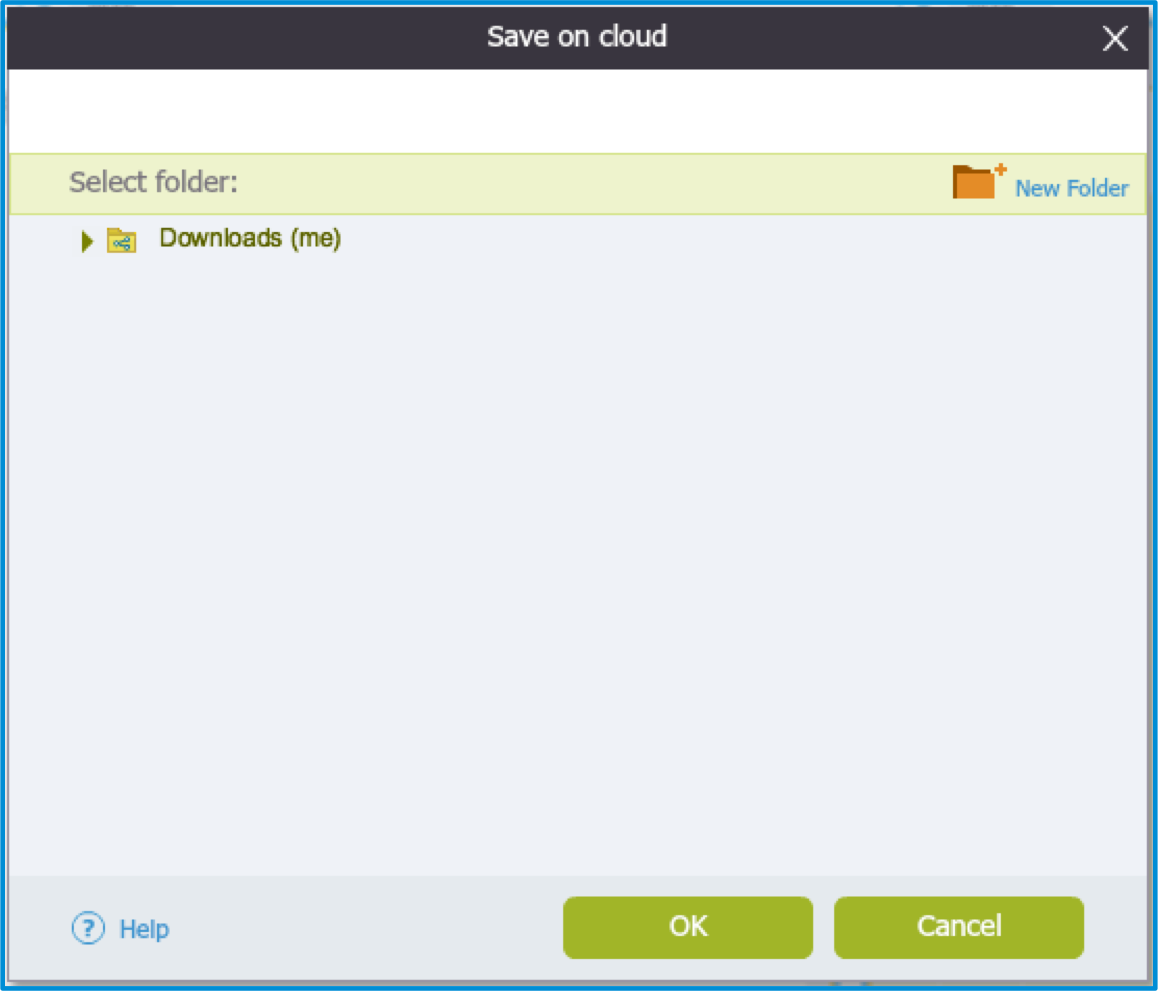
Figure 1.4.1.6: The ”Save on Cloud” dialog when importing a file.
To create a new folder, click “New Folder”. A dialog will pop up (Figure 1.4.1.7) to prompt you for a name and an option to save it as a regular folder or Auto Annotation folder. Save your file by clicking “Create”. The file will now be saved as a new project in Genome Compiler and can be opened from the Materials box.
The "Regular" folder is used to save multi-part projects.
Choose the "Auto Annotation" folder when you are importing single parts of projects that you want to save to your Auto Annotations Library (See section 1.25 for more details).

Figure 1.4.1.7: The ”Save on Cloud” dialog when creating a new folder.