1.17.2 ”Restriction Site” Settings Dialog
- The “Restriction Site” settings dialog
(Figure 1.17.2.1) will appear, displaying the
following information about the restriction enzymes:
- Number of cuts in the project
- Length of the recognition sequence
- Hang size
- Ambiguity, i.e. whether different sequences can be recognized by the enzyme
In order to display the restriction enzymes cut sites in the project, select the check box for each enzyme in the main table and they will be automatically added to the ”Selected” list on the right. You can remove enzymes from the list by unchecking their checkbox or clicking on their “Delete” icon.
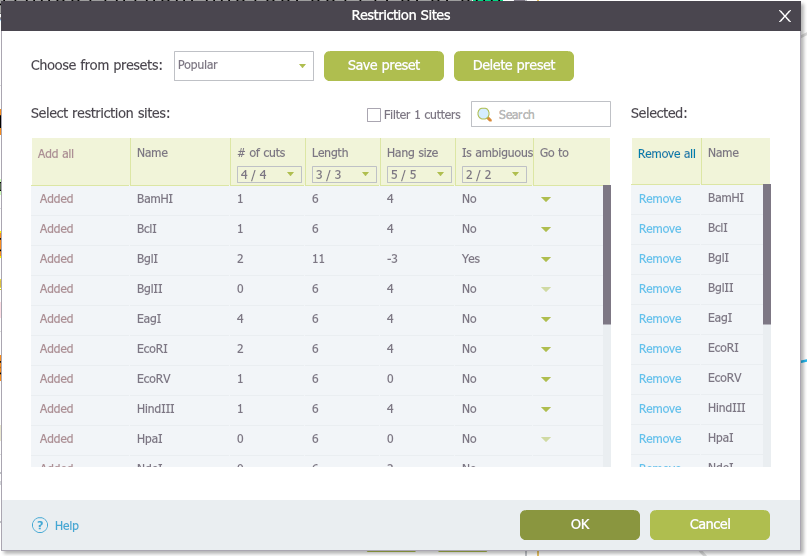 Figure 1.17.2.1: The ”Restriction Sites” settings dialog.
</div>
The drop down menu from each column heading can be used to filter your enzyme selection. In the example below (Figure 1.17.2.2), we selected for double cutters only, so that only double cutters will appear on the list.
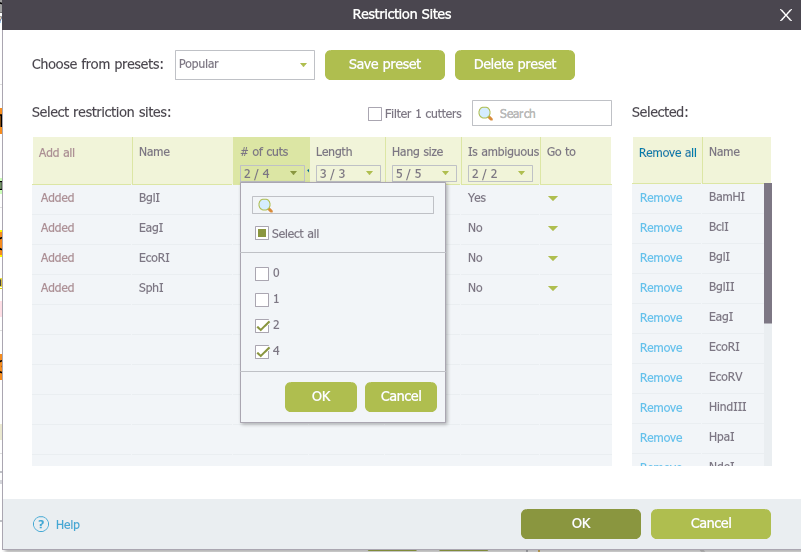 Figure 1.17.2.2: Example: show double cutters only.
</div>
The "Preset" drop down menu allows you to switch between presets. To create a new preset, select restriction enzymes (they will appear on the right) and click save. A dialog will pop up (Figure 1.17.2.3) to prompt you for a new "Preset name". To delete a preset, click the corresponding delete icon .
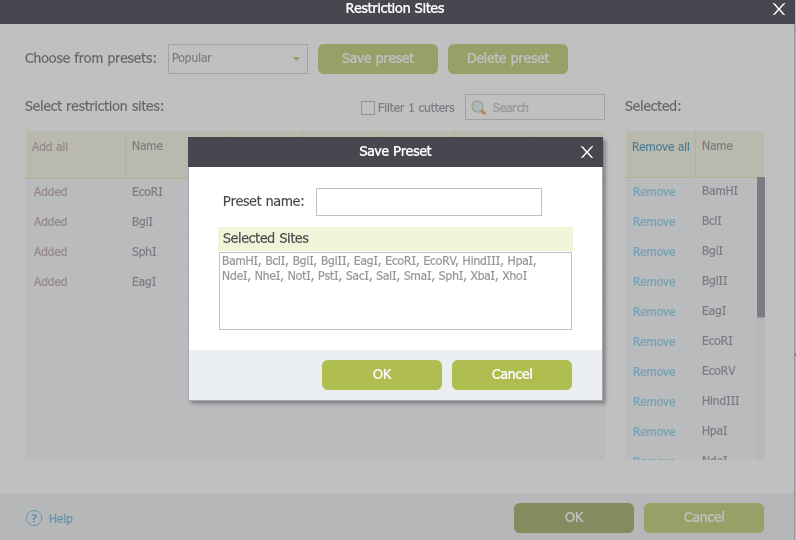 Figure 1.17.2.3: The ”Save Preset” dialog (forefront).
</div>
The small drop down arrow at the far right of the main table for each enzyme displays the restriction site locations (Figure 1.17.2.4). Clicking on the locations will take you to the corresponding area in the sequence view and highlight the location in the plasmid view.
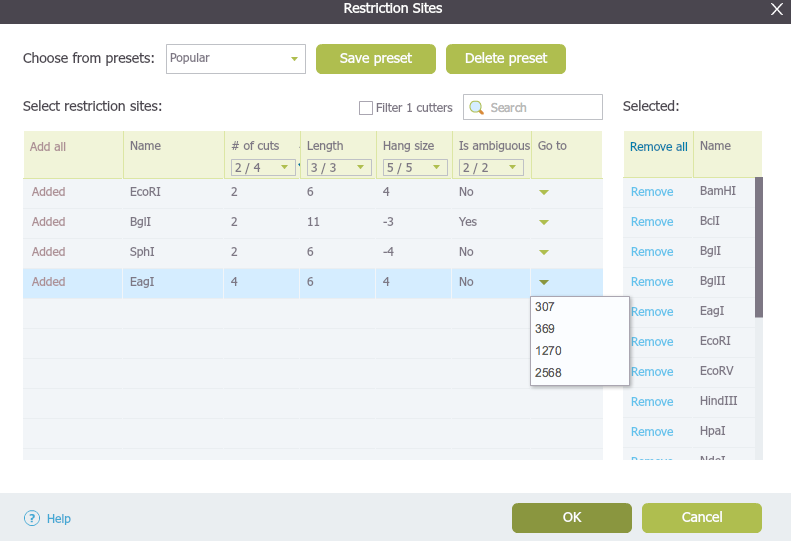 Figure 1.17.2.4: The "Restriction Sites" dialog: locations of the restriction sites.
</div>
- If you check the "Show 1 cutters only" box at the bottom left, only 1 cutters will be visible throughout the different views.