3.2.1.1 Transferring DNA/RNA molecule files from vector NTI to Genome compiler
Details about this feature can be found in the main Genome Compiler user guide:
See section 1.4 for Importing/Exporting files.
First step- Export from vector NTI as .gb or .ma4 files.
In vector NTI open the requested molecule and either click "File"-"Save As“ (Figure 3.2.1.1.1) or "Edit"-"Molecule Operations"-"Export" (Figure 3.2.1.1.2).In the Export/Save as Data window go to “Save As File” and choose .gb files (DNA/RNA Document (.gb)/Genbank (.gb)) (Figure 3.2.1.1.3).
Alternatively, if you wish to export molecules directly from the local vector NTI database you can select a single or several molecules, and either right click and choose “Export”-”…Selection into Archive” (Figure 3.2.1.1.4) or go to "DNA/RNA" from the main menu and choose “Export”-”…Selection into Archive” (Figure 3.2.1.1.5). In the window “Write DNA/RNA Molecules To” select to save the file as .ma4 (DNA/RNA Archives (*.ma4)) (Figure 3.2.1.1.6).
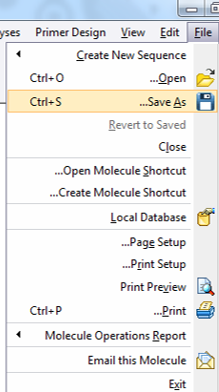 Figure 3.2.1.1.1: Export an open molecule from vector NTI through "File" in the main menu.
</div>
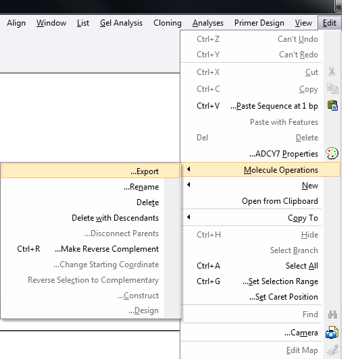 Figure 3.2.1.1.2: Export an open molecule from vector NTI through "Edit" in the main menu.
</div>
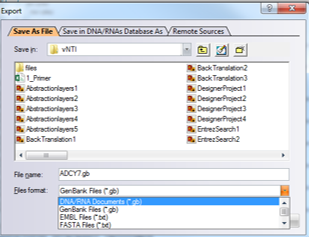 Figure 3.2.1.1.3: Export an open molecule from vector NTI as a .gb file.
</div>
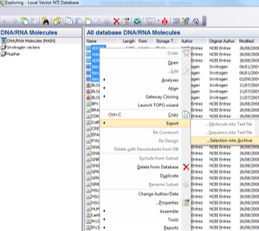 Figure 3.2.1.1.4: Export molecules directly from the local vector NTI database through right click.
</div>
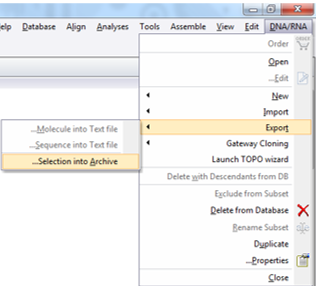 Figure 3.2.1.1.5: Export molecules directly from the local vector NTI database through "DNA/RNA" from the main menu.
</div>
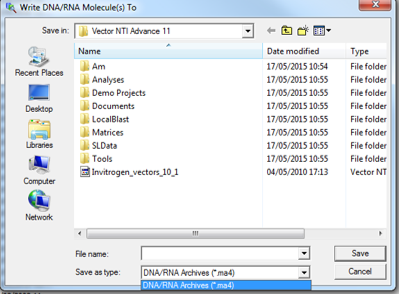 Figure 3.2.1.1.6: Export molecules from vector NTI as a .ma4 files.
</div>
Second step- Import to Genome Compiler.
- To import a file you can either click the “Import File” icon in the main toolbar (Figure 3.2.1.1.7) or in the Materials box (Figure 3.2.1.1.8) or through choosing “File”-“Import” (Figure 3.2.1.1.9). A dialog will pop up to allow you to choose the file from your computer files (Figure 3.2.1.1.10). Once you've selected a file, another dialog will pop up (Figure 3.2.1.1.11) to prompt you for a location. You can choose to save the file in an existing folder or to create a new folder. For more information on importing files see section 1.4.
Second step- Import to Genome Compiler.
To import a file you can either click the “Import File” icon in the main toolbar (Figure 3.2.1.1.7) or in the Materials box (Figure 3.2.1.1.8) or through choosing “File”-“Import” (Figure 3.2.1.1.9). A dialog will pop up to allow you to choose the file from your computer files (Figure 3.2.1.1.10). Once you've selected a file, another dialog will pop up (Figure 3.2.1.1.11) to prompt you for a location. You can choose to save the file in an existing folder or to create a new folder. For more information on importing files see section 1.4.
 Figure 3.2.1.1.7: Import File to Genome Compiler from the icon in the main toolbar
</div>
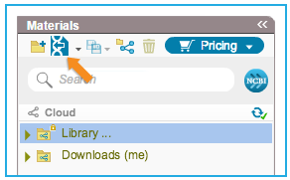 Figure 3.2.1.1.8: Import File to Genome Compiler from the icon in the Materials box
</div>
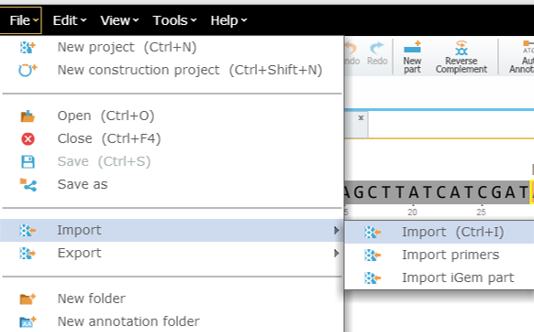 Figure 3.2.1.1.9: Import File to Genome Compiler through choosing “File” in the main menu.
</div>
 Figure 3.2.1.1.10: Choose the requested file from your computer.
</div>
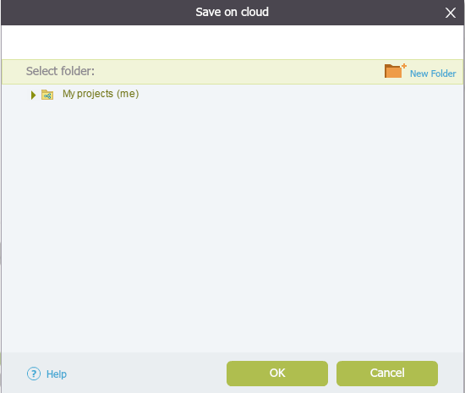 Figure 3.2.1.1.11: Choose the location for the imported file.
</div>
For more information on Exporting files from Genome Compiler see section 1.4.